Replacement Filters for Water Purifiers: When to Change Them
October 25, 2026 · 16 min read
A purifier’s filter-change interval depends on the cartridge and system, so there is no single schedule for every home. Follow the instructions for your specific filter and consider its stated capacity and your household’s use. Replacement filters can restore performance when a worn or clogged cartridge is the cause, but changes in water flow or taste can have other explanations.
It’s easy to assume a purifier will work the same way until something changes. In practice, the cartridge, its role in the system, and the water passing through it all matter. Start with the purifier’s instructions and exact model, rather than choosing a filter by appearance alone.
This guide explains how to recognize when maintenance may be due, identify the correct cartridge, and compare original and compatible options. It also outlines a tool-free change when the purifier is designed for one. The goal is to help you find a clear next step, whether you’re maintaining an existing purifier or assessing its upkeep.
Key Takeaways
- Use the filter maker’s replacement interval as your starting point, then consider how much water your household uses.
- Notice changes in flow or taste, and assess whether a worn filter or another part of the system may be responsible.
- Follow the purifier’s instructions to replace compatible cartridges by hand and restore normal operation.
- Match the replacement to your purifier’s model and connection type before ordering.
- Compare original and compatible filters by fit, performance information, and the system’s requirements.
Filter replacement intervals
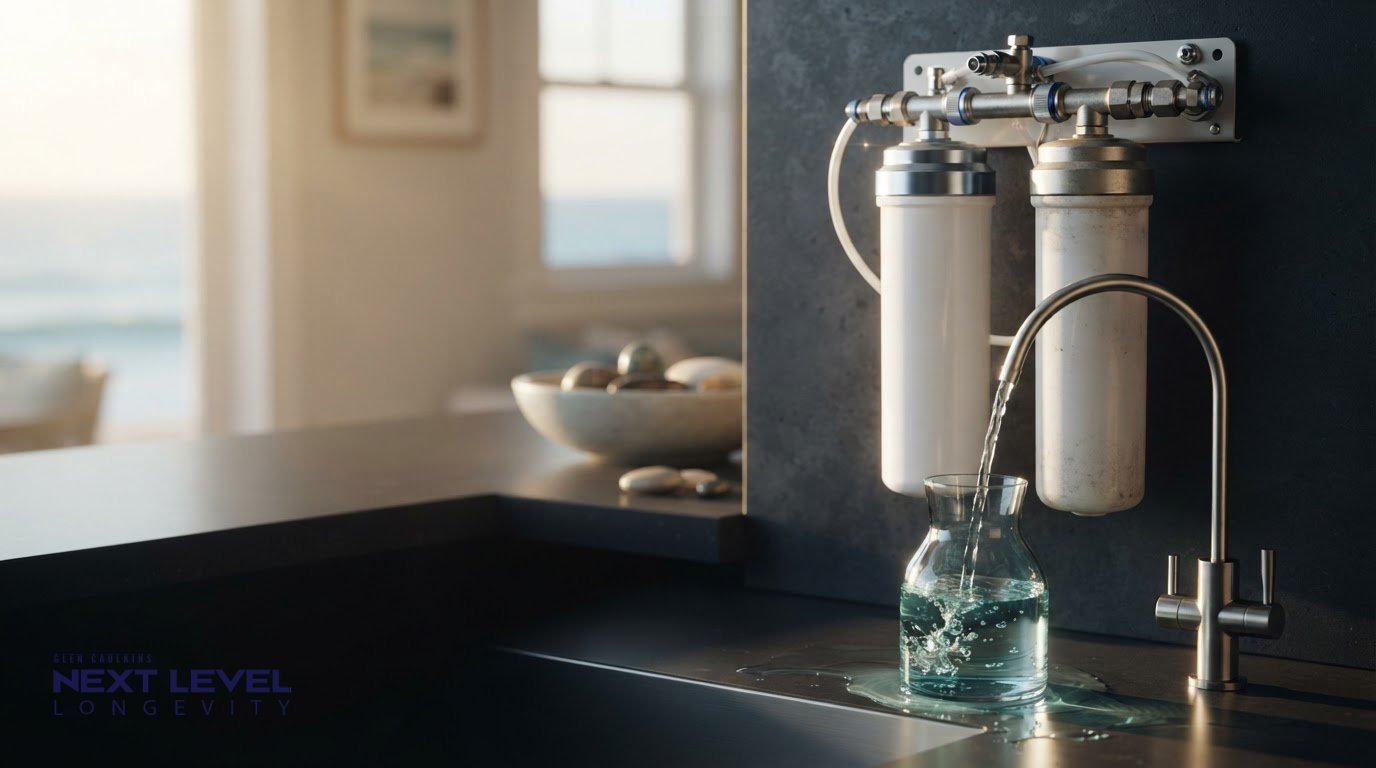
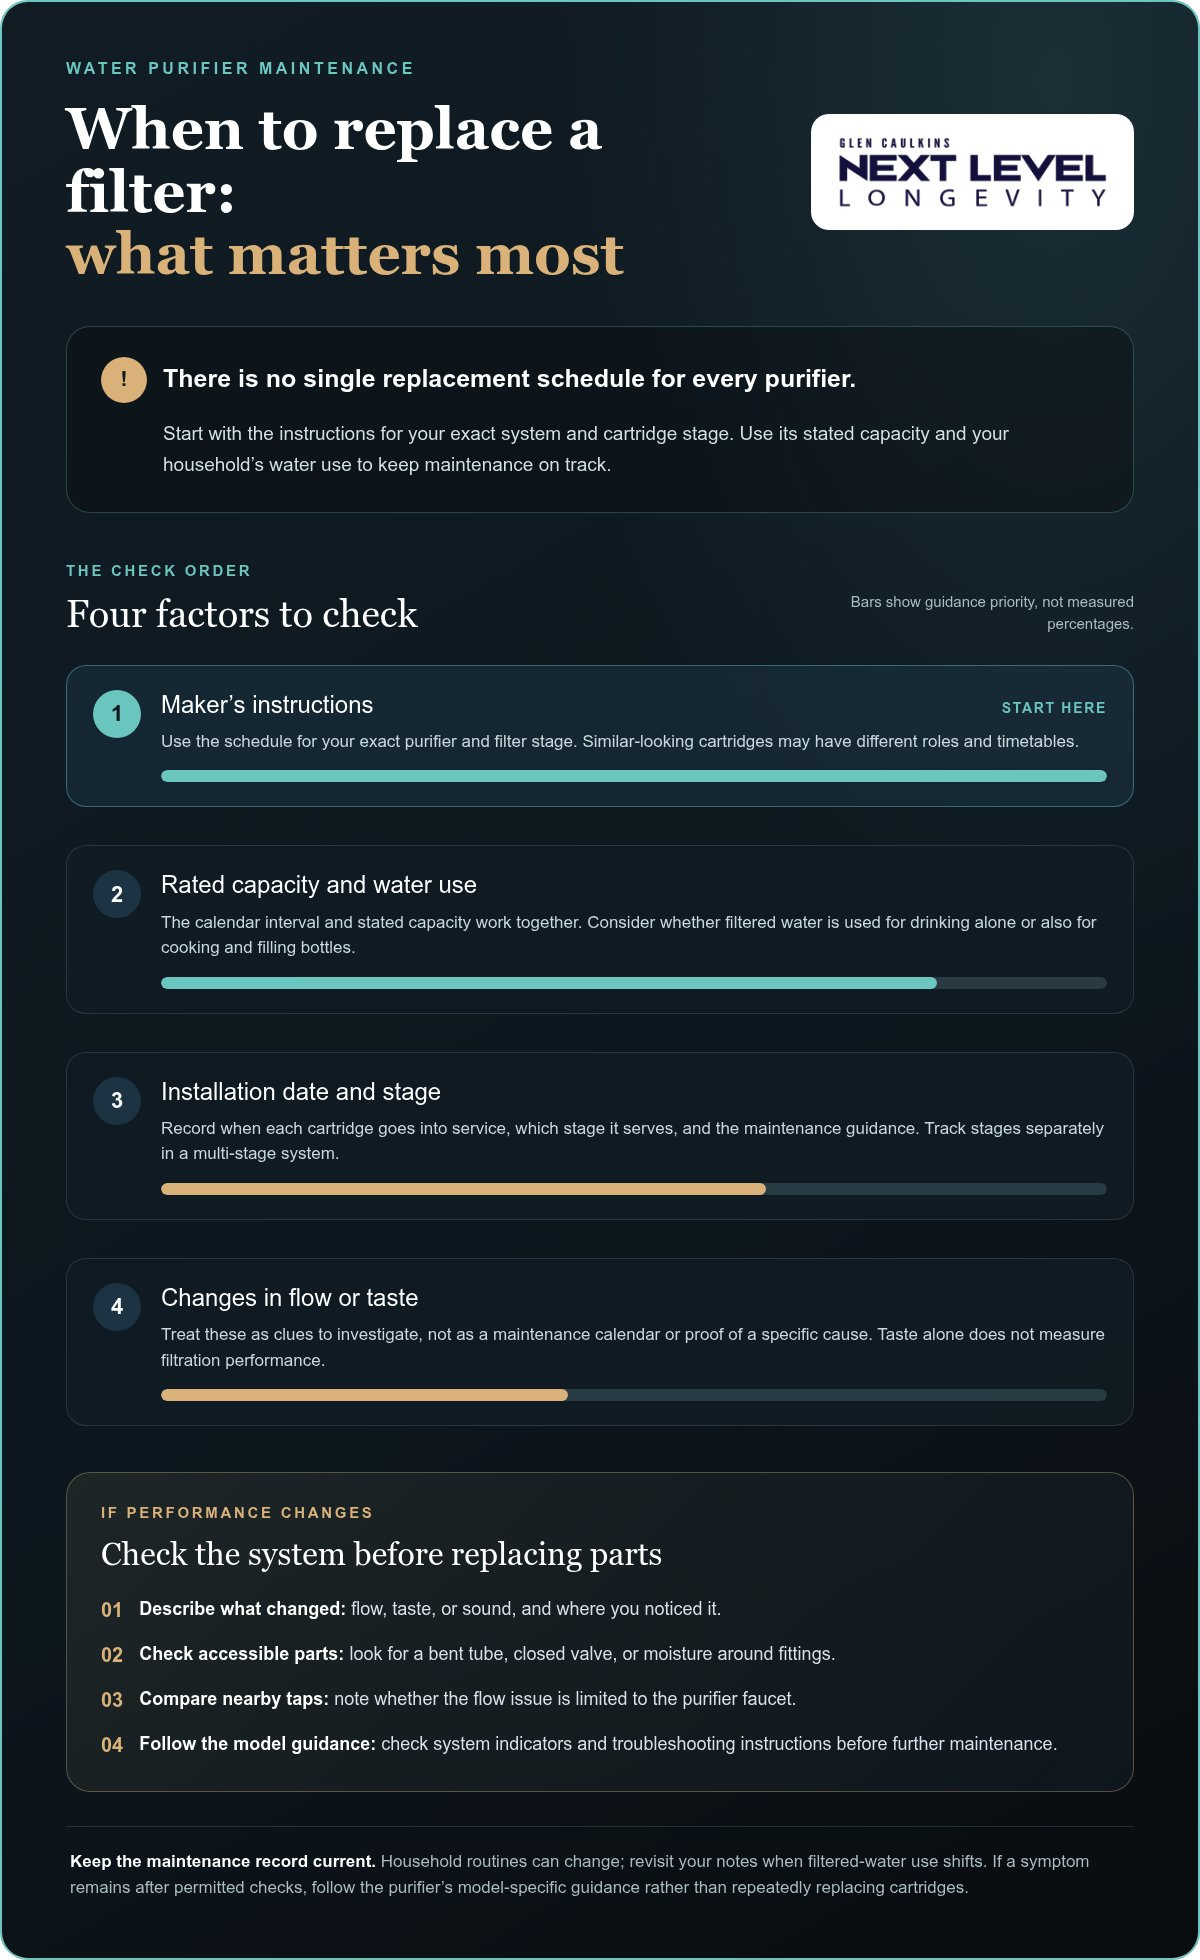
There is no single replacement interval for every water purifier. Each cartridge has a specific role, and the maker’s instructions set the schedule for that system. A sediment cartridge, carbon cartridge, and reverse-osmosis membrane are not interchangeable parts with one shared timetable. Start with the guidance for your exact purifier and filter stage. Don’t transfer an interval from another model just because its cartridges look similar.
Water use also affects how quickly a cartridge reaches its rated capacity. A household that uses filtered water for drinking, cooking, and filling bottles draws more water through the system than one that uses it occasionally. The calendar interval and stated capacity work together: the first limit reached may determine when maintenance is due. Follow the system’s instructions for applying each measure.
The installation date is a useful reference. Record it whenever you install a new cartridge, along with the filter stage and the interval given in the manual. For example, keep one note for your drinking-water purifier and separate notes for cartridges serving different stages. This prevents you from treating a multi-stage system as if every component began service at the same time.
- Read the instructions. Find the schedule for the specific purifier and cartridge stage.
- Note the starting point. Record when each new cartridge enters service.
- Track the guidance provided. Include any stated capacity or system indicator instructions.
- Review household use. Consider whether filtered water serves drinking alone or cooking and other daily tasks too.
Household routines can change. A move, new cooking habits, or more frequent bottle filling can increase demand on a purifier. Revisit your maintenance notes when those patterns shift. The maker’s interval remains the reference, while the system’s stated capacity accounts for water volume. Don’t extend the schedule because the water still tastes familiar: taste is not a maintenance calendar.
For a purifier with multiple stages, track each cartridge’s schedule separately. A sediment filter may have a different role and interval from a carbon cartridge or membrane. Replacing every component when only one is due can disrupt the maintenance plan. Follow the manual’s guidance for each stage, then update your record after every change. This makes future maintenance easier to plan without relying on memory.
Restoring purifier performance
You can assess a purifier’s performance by noting what has changed. Is the filtered stream slower? Does the faucet sputter, or has the water’s taste shifted? Record each symptom and when it occurs. A slow stream at one tap differs from low flow throughout the home. These observations can help distinguish a filter issue from a faucet, supply, or plumbing problem.
The wrong cartridge size or type may not seat properly, restrict flow, or let water bypass the intended filtration stage. Even a cartridge that fits physically may be unsuitable for the system’s connection or function. Match it to the purifier model and the stage it serves.
Start with simple checks that don’t require opening the purifier. Look beneath the sink for a bent tube or a closed valve. If possible, compare filtered and unfiltered flow at nearby taps. If only the purifier’s faucet runs slowly, the issue may be within that path. If other taps also have reduced flow, the cause may be upstream.
- Describe the change. Record whether flow, taste, or sound changed and where you noticed it.
- Check accessible parts. Look for a pinched line, closed valve, or moisture around fittings.
- Compare outlets. Note whether another tap has the same flow problem.
- Review system indicators. Follow the purifier manual’s meaning for any light or display message.
Interpret a change in taste carefully. It may follow a cartridge’s service life, but taste alone does not identify the cause or measure filtration performance. A change in water source, plumbing work, or a long period without use can also affect what you notice. Record when it began and check the system instructions before deciding which component needs attention.
After maintenance, compare the same details you recorded beforehand. Check whether flow from the purifier’s faucet has returned to its usual pattern. While the system runs, inspect nearby fittings for moisture. If the original symptom remains, avoid repeatedly replacing cartridges. Recheck the valves, tubing, and faucet components, then follow the model’s troubleshooting instructions.
Water chemistry and purifier design are connected, but a performance symptom does not reveal which substances are present. Glen B. Caulkins’s water and filtration research explores how treatment choices shape finished water. To learn about the composition of a particular supply, consult your utility’s water report or obtain a lab test.
Clean air-cleaning systems operate more efficiently. This is a reminder that maintenance supports performance, but the comparison has limits: an air-cleaning system is not a water purifier, and its condition says nothing about water quality. For a purifier, follow its own instructions and use your observations rather than borrowing service intervals or procedures from another appliance.
Keep a brief record of what you checked and what changed after each permitted maintenance step. If the symptom persists, stop rather than repeatedly disassembling the purifier. Follow guidance for the specific model or water supply. The aim is to restore the purifier’s intended operation without guessing at the cause or treating a change in taste as proof of a particular contaminant. Clear records make it easier to explain the problem and identify what further check is relevant.
Tool-free filter replacement
Some purifiers use cartridges designed to release and lock by hand. Others require a housing tool or a different service procedure. Check the model’s instructions before turning a cartridge or opening its housing. A tool-free design does not mean every filter can be changed the same way. Follow the system’s specified release method.
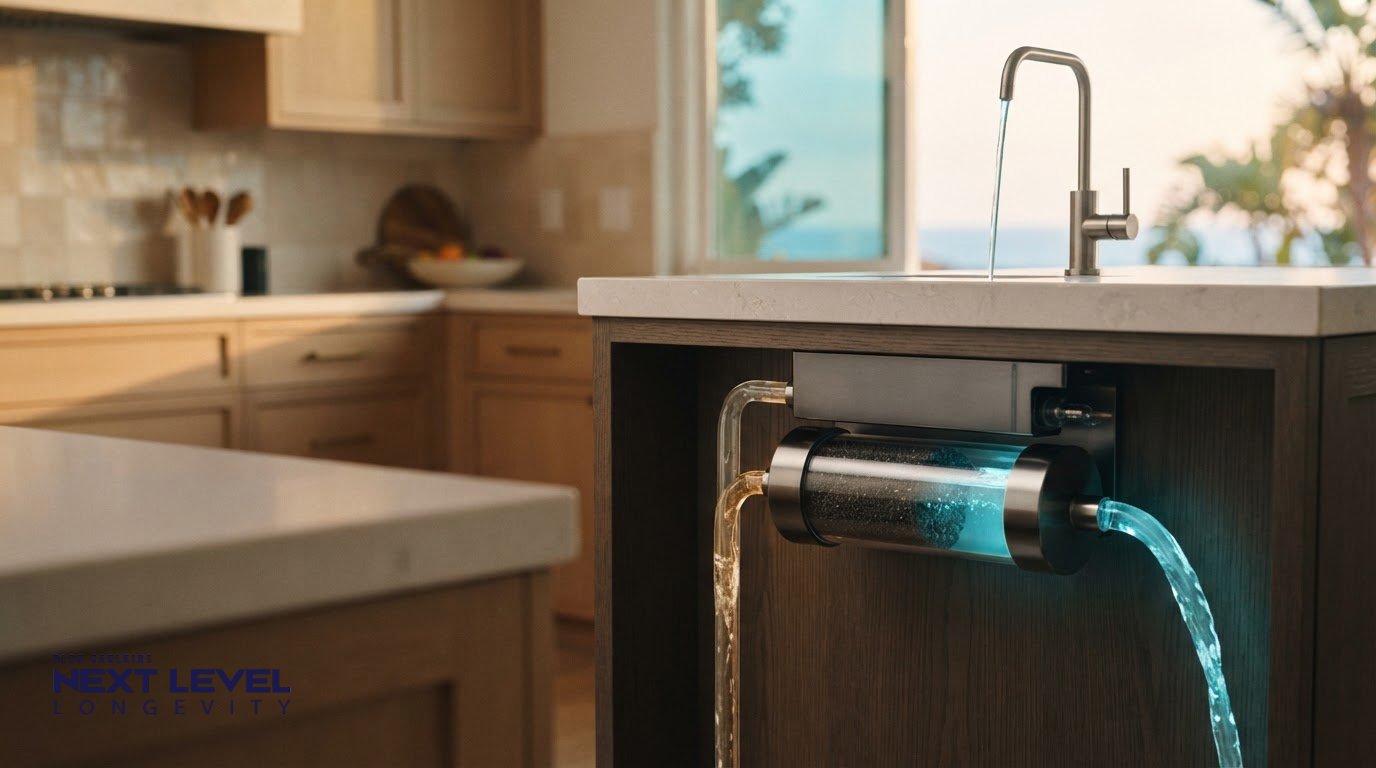
Prepare the area before removing anything. Clear the cabinet beneath an under-sink purifier, place a shallow container below its connections, and keep a towel nearby. Close the water supply valve if the instructions say to. Keep the replacement cartridge and manual within reach. These steps help contain drips and prevent confusion between cartridges in a multi-stage unit.
Follow the purifier’s sequence, not a generic video or another model’s instructions. A quarter-turn cartridge may release differently from a push-fit cartridge. If the housing has a release button, use it as directed. Don’t grip a cartridge with pliers or force a tight fitting. Excess pressure can damage the housing, connector, or seal.
- Identify the correct stage. Compare the cartridge label with the diagram in the manual.
- Prepare the purifier. Shut off the supply or depressurize it as the instructions specify.
- Remove the old cartridge. Use its release feature and keep the opening upright where practical.
- Inspect the seal. Check the O-ring, a small rubber sealing ring, for displacement or visible damage.
- Install by hand. Align the new cartridge and turn or press it into place as directed.
- Restore water and flush. Follow the manual’s flushing steps before regular use.
Take care with the O-ring. A twisted or misplaced seal can leak after reassembly. Don’t add lubricant unless the manufacturer specifies it. If the seal has come loose, reseat it only as the manual describes. A damaged or missing seal calls for the part specified for that purifier, not an improvised substitute.
After restoring the water supply, watch the connection while water runs through the system. Check again after completing the required flush. If you see moisture, close the supply and repeat the installation steps. A cartridge that won’t seat smoothly may be misaligned or intended for another model. Stop rather than forcing the connection.
Keep the manual nearby for future changes. Its diagrams clarify cartridge direction, release points, and startup steps. Glen B. Caulkins’s water and filtration research provides broader context for understanding how filter stages fit into a purifier’s operation.
How do I find the correct replacement filter size and model number?
Start with the purifier’s brand and exact model number. Look for a product label on the housing, frame, or nearby cabinet panel. A serial number identifies an individual unit, while the model number identifies its design. Record both if they appear on the label. The model number usually provides the clearest route to the correct cartridge instructions.
If the label is hidden, check the owner’s manual, purchase record, or installation paperwork. Look for the purifier’s manufacturer and model name. Don’t rely on a similar-looking system. One product line can include versions with different cartridge arrangements or connections. Match the complete model designation, including any letters or suffixes.
Next, identify the filter stage. A purifier may use separate sediment, carbon, or membrane cartridges. The stage name describes the cartridge’s role, not its physical fit. Write down the label on the cartridge you’re replacing and note its position in the system. In a multi-stage unit, the first and final cartridges may look alike but serve different functions.
- Record the purifier brand and model. Copy every letter and number from its product label.
- Read the cartridge label. Note its part number, stage, and any stated compatibility details.
- Compare the manual diagram. Match the cartridge position and connection style shown for your unit.
- Measure only when instructed. Use the manual’s method, since outside dimensions alone don’t establish compatibility.
Physical size is only one part of the match. Cartridge length, diameter, end shape, locking tabs, and connection type can all affect installation. A cartridge with similar dimensions may still connect differently or belong to another stage. Don’t choose by appearance alone. Use the purifier model and cartridge identifier together.
For example, if a cartridge label names a model family, compare the complete identifier with the purifier manual. Don’t assume a cartridge from the same brand fits every purifier. If the label is worn, photograph the housing, cartridge, and connection points. Clear images can help you read faint markings later, but the manufacturer’s model information is more reliable than visual resemblance.
Before ordering, compare the candidate cartridge’s compatibility list with the model you recorded. Confirm that the stage and connection match. Keep the old cartridge label until the new one is installed. This simple record makes the next change easier and helps prevent confusion between cartridges that share a brand but serve different systems.
Are OEM replacement filters better than compatible aftermarket filters?
OEM means “original equipment manufacturer,” the company that made or specified the purifier’s original cartridge. An aftermarket cartridge comes from another maker and claims compatibility with that system. OEM status alone does not prove a filter performs better. The useful comparison is whether each cartridge fits the exact purifier and supports the filtration function you need.
Start with your purifier’s model and cartridge stage. A carbon filter and a sediment filter have different roles, even if their housings look similar. Compare the cartridge’s connection, dimensions, and seal design with the system instructions. A mismatch can cause poor seating, leakage, restricted flow, or water bypassing the intended filter path.
Then examine the performance information for the specific cartridge. Look for the contaminants addressed, the test conditions, and the applicable system or cartridge model. A broad claim such as “reduces impurities” provides less useful detail than a documented claim naming what was tested. Testing one cartridge does not automatically establish the performance of another cartridge in the same product family.
Use this practical comparison before choosing:
- Compatibility: Does the maker identify your purifier model and filter stage?
- Performance evidence: Does the documentation name the substances tested and the conditions?
- Construction: Does the cartridge include the correct seals, end fittings, and connection style?
- Instructions: Are installation, flushing, and maintenance steps clear for your system?
An OEM cartridge may be the simpler choice when its part number matches the manual. Its intended fit and installation sequence are easier to trace. A compatible aftermarket cartridge may also suit the purifier, but the word “compatible” needs specific support. Check whether the maker names your exact model, rather than only a general brand or product family.
Don’t treat appearance, marketing language, or price as proof of filtration performance. A cartridge can resemble the original yet use different media or have different documented capabilities. Conversely, a different brand name does not mean a cartridge is unsuitable. Judge the exact product information against the fit and function your purifier requires.
Keep the package or product record with the purifier’s model details. That record helps you compare the next cartridge and identify which stage you installed. For water systems and filter options, explore PristineHydro filtration products as you consider the right match for your setup.
For an air purifier, the choice of replacement can matter in the context of indoor air quality. The United States Environmental Protection Agency states that indoor air pollution in homes can be two to five times higher than outdoor air pollution. More than 25 million Americans are estimated to be diagnosed with seasonal allergies each year. These figures are a reason to be attentive to the purpose of an air filter, but they do not establish that an OEM cartridge or an aftermarket cartridge will perform better.
Use the product’s documented claims to decide whether a particular replacement meets your purifier’s needs. If the information does not clearly identify the cartridge, purifier model, and filtration function, seek clarification before relying on it. Base your choice on the exact replacement product rather than assuming a brand label alone guarantees a result.
Glen B. Caulkins: Under-Counter Water Revival System
The Under-Counter Water Revival System is a practical next step for readers considering a home drinking-water purifier. PristineHydro’s Water Revival Systems are designed around filtration and the structure of finished drinking water. That broader view matters when choosing a system, not only when changing a cartridge.
If your current purifier needs a new cartridge, first match the filter to its exact model. If you’re considering a kitchen system, think about how filtration, maintenance, and the water you want to produce fit together. The Under-Counter Water Revival System is a kitchen system; the Travel-Portable Water Revival System is a countertop unit that can move between homes, offices, and trips.
For a closer look at the system and related water products, visit Glen B. Caulkins’s shop.
Make filter care part of your water routine
A purifier is part of a larger household routine: choosing a system, fitting its cartridges, and keeping track of maintenance. The right next step may be a compatible cartridge for a system you already own, or a fresh look at how you use filtered water at home and while travelling. Replacement filters are one part of that decision, not the whole system.
Glen B. Caulkins offers the Under-Counter Water Revival System and Travel-Portable Water Revival System for different settings. For shower filtration, choose the Aqualux all-in-one filter with shower head or the Ultimate Dual KDF inline filter, which works with your existing shower head. Let your intended use guide the choice.
If you’re considering a system or filter option, contact Glen B. Caulkins to explore the next step. A thoughtful choice starts with the water you use and the setup that fits your routine.
Frequently Asked Questions
How often should air, water, refrigerator, and vacuum filters be replaced?
Use the schedule for the exact appliance and filter, since there is no single interval for every type. Air purifier filters depend on the model and operating conditions; water cartridges follow their system’s instructions and use. Refrigerator filters also vary by appliance, while vacuum filters depend on whether they are washable or replaceable. Check the refrigerator manual before choosing a cartridge, even if another model looks similar.
How do I replace an air or water filter safely, step by step?
For an air purifier, switch it off and unplug it before opening the filter compartment. Remove the old filter, note its direction, and install the correct match as shown in the manual. For a water purifier, follow its instructions for shutting off the water and releasing pressure. Remove the cartridge carefully, fit the specified replacement, restore water as directed, and inspect connections for leaks before using the system.
Can replacement filters be cleaned or reused, and when should they be discarded?
Some filters are washable; others are designed to be discarded and replaced. Check the label or manual before rinsing, vacuuming, or reusing a filter. A washable vacuum pre-filter may be cleaned as directed, while a cartridge not marked washable should be replaced when its service interval ends or it becomes damaged. Discard filters that won’t dry or reseat as instructed, since moisture or a poor fit can affect operation.
Frequently Asked Questions
How often should air, water, refrigerator, and vacuum filters be replaced?
How do I replace an air or water filter safely, step by step?
Can replacement filters be cleaned or reused, and when should they be discarded?
More articles